Confessions of a Professional Organizer: Tips for Sorting Your Household Items Without Getting Stuck
- Emily Santos

- Mar 17, 2025
- 5 min read
Updated: Apr 23
As a professional organizer in Seattle, I help people create space in their homes for what matters in their lives. Part of creating space is deciding what items to let go of, which can be challenging.
When you hire a professional organizer, the progress you make can feel like magic. It feels so easy when someone is there with you, and you wonder why you couldn't decide what to keep and what to let go of on your own. Here's my confession: what feels like organizing magic is planning, structure and accountability.
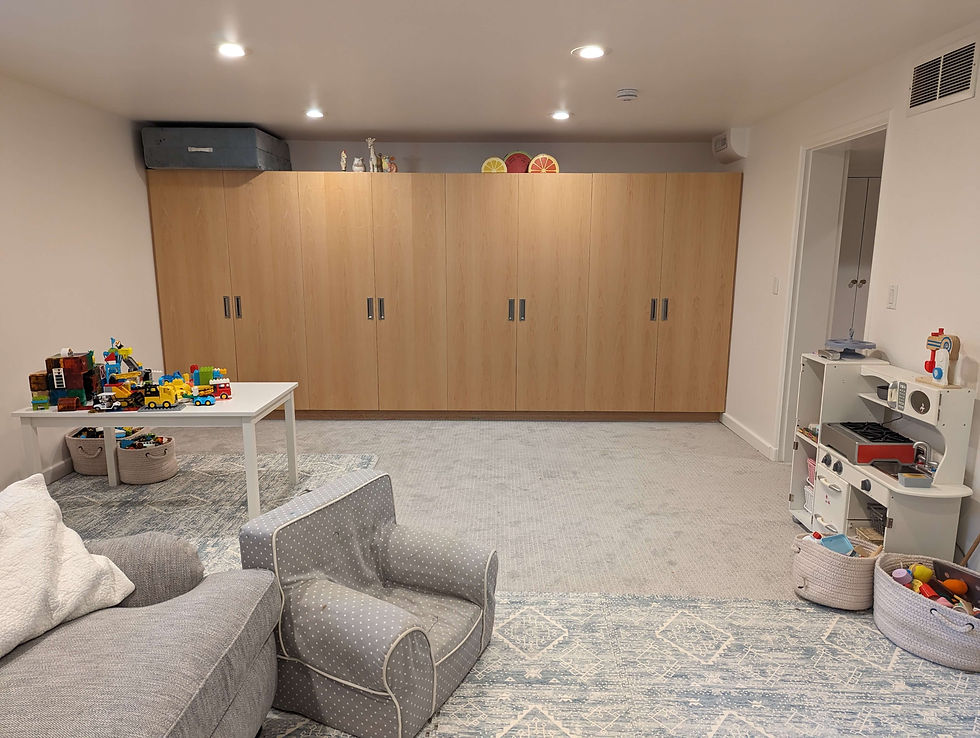
Whether you want to organize your home office, kitchen, or playroom, I’ve put together my top five tips for sorting household clutter without getting stuck.

Table of Contents
Tip #1: Clear your mind and calendar before your home organizing project.
Consider how you’re feeling about your home organizing project. As you look at your closet or pantry that you wish was more organized, what feelings come up for you?
I feel overwhelmed.
I don't know where to start.
How did I let it get this way?
Why am I not more organized?
If any of your feelings are negative, clear them out now. Having an excess of stuff or accumulating clutter isn’t good or bad. You’re not “bad” for having stuff and “good” for letting it go. In fact, organizing isn’t really about getting rid of stuff. Organizing is about identifying what matters to you, which changes over time. Plus you’re busy. Clutter is just a decision you haven’t had time to make. Yet!
So make the time! After you clear your mind, clear your calendar. One reason people make progress with a professional home organizer is because they’ve cleared their calendar of other responsibilities that day. My recommendation is to first make a plan of where to start and then set aside at least four hours to make progress. If you're ready to start planning, you can check out the not-so-secret way I organize anything, from start to finish.

Tip #2: Decide where you will donate household items before you start sorting.
Even if it’s easy for you to let items go, there will come a time during your home organizing project when you hesitate:
What if I need this again?
Maybe I should save it, just in case.
I kind of like it. I mean there's nothing wrong with it.
Someone gave this to me. I have to keep it.
Make a plan at the beginning of your organizing project for where you can donate items that are no longer useful or important to you. I keep an updated list of donation resources in the Seattle area, including a fantastic hauling service that donates to several local nonprofits. It will be much easier to let go of your extra kitchen supplies when you can imagine them as a part of a kitchen created for someone transitioning out of homelessness.

Tip #3: Focus on organizing into categories first.
It’s common to start your home organizing project by looking at an item and asking yourself:
Should I keep it?
Where should I put it?
This is a common place to get stuck. However, you don’t know if you need to keep it because you aren’t sure what else is in that category. So, instead of starting with whether or not you need to keep something, ask yourself:
What category is it?
Do the same thing with the next item, until everything is sorted into categories. Once you see everything in a category together, it becomes easier to edit within a category:
I didn’t know I had this many vases!
How’d I end up with so many mugs?
I'm never going to use all of these platters at once.
If you still get stuck when sorting within categories, consider moving the items to a different area of your home to edit. If you're standing in your bedroom, you might look at a pair of shoes and think “these belong in my closet.” However if you’re looking at all of your shoes lined up in your living room, you gain a fresh perspective and may instead think “I never wear these boots!”
Tip #4: Embrace sorting items into a “maybe” category.
Think of this tip as a way to manage your time during a home organization project. As you begin to edit within categories, you may think:
I use this all the time. Definitely keep.
I don’t even remember when I bought this. Never used it. Definitely donate.
Hmmm… well, I have used it. But it’s more of a backup. I’m not sure I really need it… But I might… someday.
Make quick decisions on the "definitely keeps" and "definitely donates" and spend your time sorting the "maybes." When it comes to the maybes, there are many techniques and prompts to help yourself decide (read more in my sorting free tips):
Ask yourself if keeping it is getting in the way of anything.
Take an essentialism approach: if it’s not a hell yes, it’s a hell no.
Take a minimalist approach: if you really needed it in the future, could you replace it for $20 or less in under 20 minutes of your time?
Box up all the maybes and put a date of six months from today on the box. Donate anything left in the box after six months (without opening it or sorting through it again).
Tip #5: Organize with a friend to create accountability.
One of the things I hear most often from clients is:
It’s not that I can’t do this on my own… it’s just that you keep me accountable!
Confession! You can create external accountability without hiring an organizer. Call a friend. Tell your friend about your organizing project and invite them to come over after you should be finished. Now you have a deadline. You can also invite a friend to organize with you and follow my step-by-step organizing process together.


Want a free consultation with a professional organizer in Seattle?
If you’re in the Seattle area and are wondering if a professional organizer could help you, reach out! Every home organizing project starts with a free video call to talk through your goals.